
Repair Manual for Bissell ProHeat 2X
The Bissell ProHeat 2X repair manual provides essential guidance for troubleshooting and maintaining your carpet cleaner. It includes detailed instructions, parts diagrams, and step-by-step repair solutions to ensure optimal performance and extend the lifespan of your device. The manual covers everything from routine maintenance to complex repairs, making it a comprehensive resource for users.
1.1. User Manual Overview
The Bissell ProHeat 2X user manual is a vital resource for understanding the operation, maintenance, and basic troubleshooting of the device. It provides a detailed overview of the cleaner’s features, such as the Dual DirtLifter PowerBrushes and SmartClean solution mixing system. The manual includes step-by-step instructions for assembling and using the cleaner, as well as guidelines for cleaning hard-to-reach areas with the attachment hose. Safety precautions and warranty information are also highlighted to ensure safe and effective use. Additionally, the manual serves as a foundation for DIY repairs by explaining how to identify common issues and perform routine maintenance tasks. It is available for free download online, making it easily accessible for users seeking to optimize their cleaning experience and extend the lifespan of their ProHeat 2X cleaner.
1.2. Service Center Manual Details
The Bissell ProHeat 2X Service Center Manual is a detailed technical guide designed primarily for professionals and advanced users. It offers in-depth information on the internal components, wiring diagrams, and plumbing schematics of the cleaner. This manual is particularly useful for diagnosing and addressing complex issues that may not be covered in the user manual. It includes specific instructions for disassembling and reassembling the unit, as well as troubleshooting guides for electrical and mechanical components. The service center manual also provides specifications for replacement parts and tools required for repairs. By referencing this manual, users can identify and resolve issues efficiently, ensuring their ProHeat 2X operates at peak performance. It is available for download alongside the user manual and parts diagram, forming a comprehensive repair resource.
1.3. Importance of the Parts Diagram
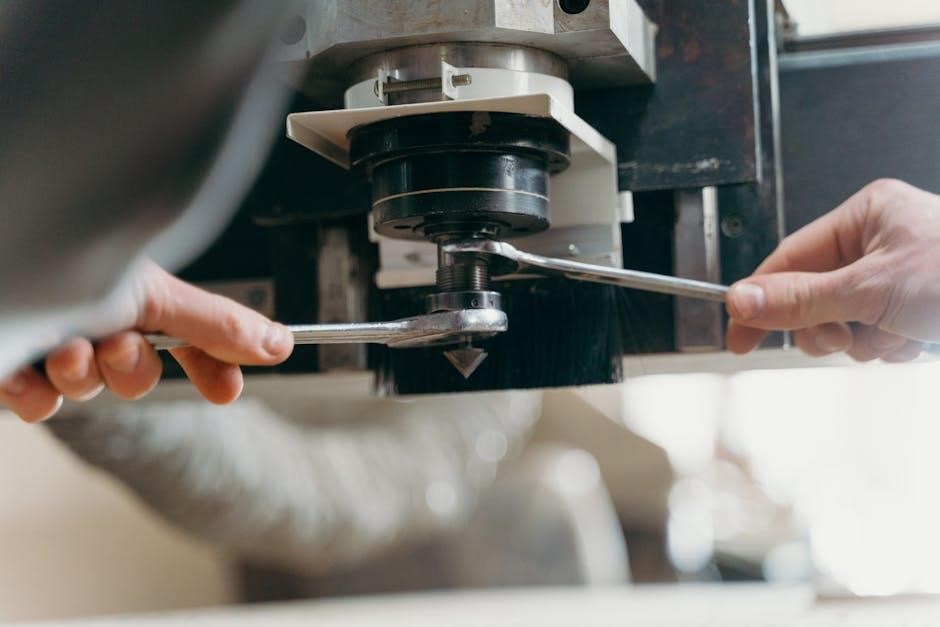
The parts diagram for the Bissell ProHeat 2X is an indispensable tool for effective repairs and maintenance. It provides a visual representation of the cleaner’s components, allowing users to identify and locate parts accurately. This diagram is crucial for understanding how different components interact and for diagnosing issues efficiently. By referencing the parts diagram, users can ensure that they order the correct replacement parts, avoiding mismatches and unnecessary costs. It also serves as a guide during reassembly, reducing the risk of damage or improper installation. The diagram’s detailed layout simplifies the repair process, making it accessible for both novice and experienced users. Overall, it is an essential resource for maintaining the longevity and functionality of the ProHeat 2X carpet cleaner.
Bissell ProHeat 2X Parts Diagram Explained
The Bissell ProHeat 2X parts diagram is a detailed visual guide that outlines the cleaner’s components, their locations, and how they connect. It simplifies repairs and maintenance by providing a clear reference for identifying parts, understanding their functions, and ensuring proper assembly. The diagram is essential for troubleshooting, as it helps users pinpoint issues and determine which parts may need replacement. By referencing the diagram, users can avoid confusion and ensure that repairs are done correctly. It is a vital tool for anyone seeking to maintain or repair their ProHeat 2X effectively, making it an indispensable resource for both novice and experienced users alike.
2.1. How to Read the Parts Diagram
Reading the Bissell ProHeat 2X parts diagram begins with locating and understanding the visual representation of all components. Start by identifying the diagram’s layout, which is typically organized by major assemblies or subsystems, such as the brush, water tank, or electrical components. Look for a legend or key that explains any symbols, numbers, or color-coding used, as these provide crucial information about each part’s identity and function.
Next, focus on the labeling and part numbers, which are essential for identifying specific components. These numbers correspond to the user manual or online catalogs, allowing you to cross-reference and order replacement parts. Pay attention to how parts are grouped or sectioned, as this can help you isolate specific areas of interest, such as the brush motor or heating element.
Tracing connections between parts can also aid in understanding the system’s flow, such as how water moves through the machine or how electrical components interact. Use the diagram to guide disassembly and reassembly, ensuring parts are removed and replaced in the correct order. If unclear, consult additional resources like tutorials or videos for further clarification.
Finally, use the diagram to pinpoint common wear-and-tear parts or critical components, often highlighted through color-coding or shading. By systematically analyzing the diagram, you can efficiently diagnose issues, locate necessary parts, and perform repairs with confidence.
2.2. Major Components Identified
The Bissell ProHeat 2X parts diagram highlights several key components essential for the operation of the carpet cleaner. These include the dual DirtLifter PowerBrushes, responsible for agitation and dirt removal, and the SmartClean solution mixing system, which ensures proper cleaning agent distribution. The heated cleaning element is another critical part, providing warm water for effective cleaning. Additionally, the water tanks (clean and dirty) are vital for holding cleaning solutions and wastewater. The belt-driven motor powers the brushes, while the control panel manages settings like heat and solution flow. Understanding these components is crucial for maintenance and repairs, as they often require attention or replacement to maintain optimal performance.
2.3. Using the Diagram for Repair Purposes
The parts diagram is an invaluable tool for repairing the Bissell ProHeat 2X, providing a visual guide to identify and locate components. It helps users diagnose issues by pinpointing faulty parts, such as the DirtLifter brushes or the heating element. By referencing the diagram, individuals can determine which parts need replacement or adjustment, streamlining the repair process. It also ensures that repairs are done correctly, reducing the risk of further damage. Additionally, the diagram aids in understanding how components interact, making it easier to follow step-by-step repair instructions. This resource is particularly useful for those unfamiliar with the internal workings of the cleaner, guiding them through disassembly and reassembly with precision.
Troubleshooting Guides
Troubleshooting guides for the Bissell ProHeat 2X help identify common issues like clogged hoses or faulty brushes. They provide step-by-step solutions to restore functionality quickly and effectively.
3.1. Common Issues and Solutions

Common issues with the Bissell ProHeat 2X include clogged hoses, malfunctioning brushes, and reduced suction power. Solutions often involve cleaning or replacing obstructed parts, ensuring proper assembly, and maintaining the unit regularly. The repair manual and parts diagram are essential for diagnosing and resolving these problems effectively.
3.2. Diagnostic Techniques Using the Diagram
The parts diagram is a crucial tool for diagnosing issues with the Bissell ProHeat 2X. By referencing the diagram, users can pinpoint faulty components, such as clogged hoses or malfunctioning brushes. The diagram helps identify the location and function of each part, making it easier to trace problems like reduced suction or heating issues. Users can cross-reference symptoms with the visual layout to determine the root cause. Additionally, the diagram assists in verifying proper assembly after repairs, ensuring all components are correctly aligned and connected. This visual guide simplifies troubleshooting, allowing users to address issues efficiently and effectively, minimizing downtime and extending the cleaner’s lifespan.
Maintenance and Repair Tips
Regularly clean filters and brushes to ensure optimal performance. Check hoses for blockages and secure all connections. Refer to the parts diagram for routine maintenance procedures.
4.1. Routine Maintenance Procedures
Regular maintenance is crucial for the longevity and efficiency of your Bissell ProHeat 2X. Start by cleaning the pre- and post-motor filters after each use to prevent dust buildup. Next, inspect the brush rolls and remove any tangled hair or debris. Check the solution and water tanks for residue and rinse them thoroughly. Ensure all connections, including hoses and belts, are secure and free from damage. Referencing the parts diagram can help identify areas that may need attention. Finally, dry the machine and its components after each use to prevent mold and mildew. Following these steps will keep your cleaner in optimal condition.

Replacement Parts and Accessories
The Bissell ProHeat 2X offers a wide range of genuine replacement parts and accessories, ensuring optimal performance and longevity. These include brushes, belts, filters, and cleaning solutions.
5.1. Sourcing Genuine Bissell Parts
To ensure compatibility and quality, always source genuine Bissell parts for your ProHeat 2X. Bissell’s official website and authorized retailers offer authentic components, guaranteeing safety and performance. Avoid counterfeit products by verifying the seller’s authenticity before purchase. Detailed parts diagrams in repair manuals help identify the correct items needed, making the process efficient. Additionally, customer support and repair guides provide guidance on selecting the right accessories for your specific model. Investing in genuine parts ensures your device runs optimally and maintains its warranty coverage.

5.2. Installation Tips for Replacement Parts
When installing replacement parts on your Bissell ProHeat 2X, always refer to the parts diagram for accurate guidance. Ensure the machine is unplugged and cool before starting any installation. Align parts carefully to avoid misfits, and use the provided screws or clips securely. Apply a small amount of lubricant to moving parts if necessary. After installation, test the device to ensure proper function. Follow the repair manual’s step-by-step instructions for complex components. If unsure, consult customer support or professional help. Proper installation ensures safety, performance, and longevity of your cleaner.