The 2013 Nissan Leaf Repair Manual is a comprehensive guide for owners and technicians, covering maintenance, diagnostics, and repairs. It focuses on battery health, electrical systems, and troubleshooting for optimal performance and longevity.
Overview of the 2013 Nissan Leaf
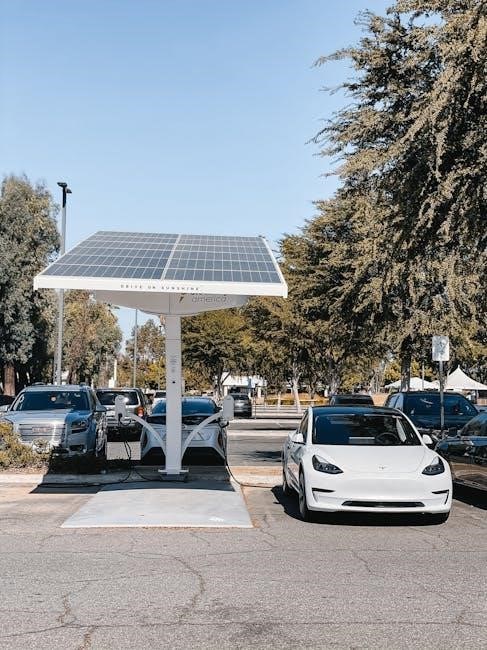
The 2013 Nissan Leaf is an all-electric, five-door hatchback with a range of up to 75 miles on a single charge. It features a 24 kWh lithium-ion battery pack, providing efficient performance. Known for its eco-friendly design, the Leaf combines innovative technology with practicality. Owners often highlight its smooth acceleration and regenerative braking system. However, common issues include battery degradation over time and heating system malfunctions when idling. Regular maintenance, as outlined in the repair manual, is crucial for optimal performance and longevity.
Importance of Regular Maintenance
Regular maintenance is essential for the 2013 Nissan Leaf to ensure optimal performance, reliability, and safety. Neglecting routine checks can lead to issues like battery degradation, heating system malfunctions, and loose wheel bearings. Proper upkeep extends the life of critical components, such as the electrical powertrain and regenerative braking system. Skipping maintenance can result in unexpected repairs and reduced efficiency. Consistent care ensures the vehicle operates smoothly, addressing potential problems before they escalate and keeping the Leaf running at its best for years to come.
Understanding the Electrical Powertrain
The 2013 Nissan Leaf’s electrical powertrain consists of a high-voltage battery pack, an electric motor, and advanced control systems. This setup replaces the traditional internal combustion engine, providing smooth, quiet, and efficient operation. The battery supplies power to the motor, while regenerative braking captures energy to recharge the battery. Proper maintenance of this system is crucial for performance and longevity. Regular checks ensure optimal energy flow and prevent potential electrical issues, keeping the Leaf running efficiently and reliably.
Battery Management and Maintenance
Proper management and maintenance of the 2013 Nissan Leaf’s battery are crucial for longevity. Monitor health, avoid extreme charge levels, and store the vehicle in cool, dry conditions to preserve capacity and ensure reliable performance over time.
Checking Battery Health
Regularly monitoring the 2013 Nissan Leaf’s battery health is essential for maintaining performance and range. The battery health can be assessed using the onboard computer, which displays capacity bars. Over time, battery degradation is normal, with a loss of one bar indicating a 10-15% reduction in capacity. Factors like charging habits, temperature, and mileage affect battery health. Checking the battery status through the dashboard or a professional diagnostic tool helps identify issues early. Avoiding deep discharges and extreme temperatures can help preserve battery life. If capacity falls below 70%, consider professional evaluation or replacement options to ensure reliability and efficiency.
Battery Degradation and Replacement Options
Battery degradation in the 2013 Nissan Leaf is inevitable but manageable. Signs include reduced range and capacity bars on the dashboard. If degradation exceeds 70%, replacement is advisable. Nissan offers genuine battery packs or refurbished options, ensuring compatibility and performance. Third-party suppliers provide cost-effective alternatives, though reliability may vary. Replacement requires specialized tools and expertise, often necessitating a visit to a certified Nissan service center. Regular maintenance and optimal charging habits can slow degradation, extending battery life and vehicle efficiency.
Best Practices for Extending Battery Life
To maximize the lifespan of your 2013 Nissan Leaf’s battery, avoid extreme temperatures, keep the charge level between 20% and 80% if possible, and minimize prolonged full charges. Use the built-in charge timers to prevent overcharging. Regular software updates from Nissan can improve battery management. Avoiding rapid charging when the battery is already hot can also reduce stress. Consistent driving habits and avoiding deep discharges help maintain battery health, ensuring optimal performance and longevity over time.
Diagnostics and Troubleshooting
The 2013 Nissan Leaf Repair Manual provides detailed guidance for diagnosing and addressing common issues, such as battery health, electrical system faults, and software-related problems. Regular checks and troubleshooting steps are outlined to help owners identify and resolve issues promptly, ensuring optimal vehicle performance and reliability. The manual emphasizes the importance of addressing warning signs early to prevent more severe damage or system failures over time.
Common Issues and Warning Signs
Common issues with the 2013 Nissan Leaf include loose front wheel bearings, which cause noise during acceleration or braking, and degraded battery performance. The 12v battery can fail, leading to startup problems or system malfunctions. Some owners report a clicking sound from the electric motor when charging. Warning signs like reduced battery capacity bars, inconsistent charging, or error messages on the dashboard indicate potential problems. Addressing these issues early helps prevent further damage and ensures reliable operation.
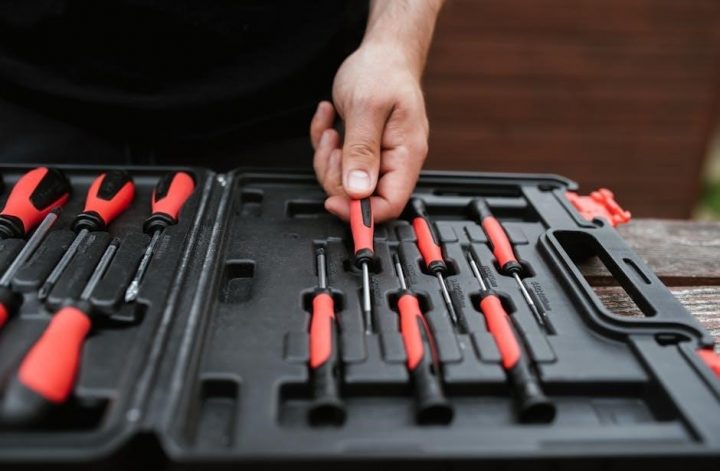
Using the Repair Manual for Troubleshooting
The repair manual provides step-by-step guidance for diagnosing and resolving common issues. It includes detailed instructions for identifying weak or failed battery cells, addressing loose wheel bearings, and resolving heating system malfunctions. By following the manual, owners can interpret error messages, perform routine checks, and execute repairs effectively. This ensures timely fixes and helps prevent minor issues from escalating into costly problems, keeping the vehicle reliable and efficient over time.
Brakes and Suspension Repair
The 2013 Nissan Leaf features a regenerative braking system alongside traditional brakes. Regular maintenance ensures optimal performance, addressing issues like loose wheel bearings and wear on components.
Regenerative Braking System
The 2013 Nissan Leaf’s regenerative braking system captures kinetic energy during deceleration, converting it into electrical energy to recharge the battery. This system enhances fuel efficiency and reduces wear on traditional brakes. Proper maintenance involves checking the braking sensors and ensuring the electric motor functions correctly. Any issues, such as inconsistent braking performance, should be addressed promptly to maintain safety and efficiency. Regular inspections are crucial to uphold the system’s effectiveness and reliability over time.
Traditional Braking System Maintenance
Regular maintenance of the 2013 Nissan Leaf’s traditional braking system is essential for safety and reliability. Inspect brake pads, rotors, and fluid levels periodically. Ensure there are no leaks in the brake lines and that the brake fluid is at the recommended level; Replace worn pads and rotors as needed to maintain consistent braking performance. Proper upkeep prevents issues like spongy brakes or reduced stopping power, ensuring the vehicle remains safe to drive under all conditions.

Thermal Management System
The 2013 Nissan Leaf’s thermal management system ensures optimal temperatures for the battery and interior. It uses heaters, coolants, and sensors to maintain efficiency and comfort, vital for battery longevity and performance.
Heating and Cooling System Overview
The 2013 Nissan Leaf features a sophisticated thermal management system designed to regulate battery and cabin temperatures. The electric heating system uses resistive heating elements, while cooling is managed through a dedicated electric water pump and radiator. This setup ensures optimal battery performance and passenger comfort. The system also includes a heat pump in certain models, enhancing efficiency by utilizing waste heat. Sensors continuously monitor temperatures, adjusting the system to maintain ideal conditions. Regular maintenance of this system is critical for preserving battery health and overall vehicle efficiency.
Addressing Heating Issues While Idle
The 2013 Nissan Leaf may experience heating issues when idle, often linked to the electric heating system’s performance. To address this, ensure the climate control system is functioning correctly and check for software updates. Inspect the coolant level and electrical connections, as low coolant or faulty sensors can disrupt heating. If problems persist, consult a certified technician or refer to the repair manual for detailed diagnostics and repair procedures to restore reliable heating while idle.

Maintenance Schedule and Routine Checks
Adhere to Nissan’s recommended maintenance schedule for optimal performance. Regular checks include inspecting the braking system, tire pressure, and software updates to ensure longevity and reliability.
Recommended Service Intervals
Regular service intervals ensure optimal performance and longevity. Schedule inspections every 7,500 miles, including tire rotations and fluid checks. Detailed inspections are recommended every 15,000 miles. Battery health checks should occur every 30,000 miles. Adhere to Nissan’s guidelines for electrical system evaluations and brake pad replacements. Proper adherence prevents unexpected repairs and maintains reliability. Follow the manual’s schedule to ensure your Leaf operates efficiently and safely. Timely maintenance is crucial for preserving battery life and overall performance.
Essential Routine Checks
Regular checks are vital for maintaining your 2013 Nissan Leaf’s performance. Inspect tire pressure and tread wear monthly, and check brake pads every 10,000 miles. Ensure suspension components are secure and free from damage. Monitor battery health through the dashboard indicators and schedule professional inspections if issues arise. Verify coolant levels and top off as needed to prevent overheating. Lastly, replace the air filter every 15,000 miles to optimize efficiency. These checks ensure reliability and extend the vehicle’s lifespan.

Troubleshooting Common Problems
The 2013 Nissan Leaf Repair Manual helps identify and resolve issues like battery degradation, loose wheel bearings, and heating system malfunctions, ensuring proper diagnostics and repairs.
Identifying Weak or Failed Battery Cells
Identifying weak or failed battery cells in the 2013 Nissan Leaf involves checking the dashboard battery health indicators, which display up to 12 bars. Missing or flashing bars indicate potential issues. The repair manual provides specific error codes and diagnostic procedures to pinpoint problematic cells. Using the on-board diagnostics system or navigation can offer detailed insights. Regular checks and updates to the battery management system can help maintain cell health. If unsure, consulting a certified technician ensures accurate diagnosis and safe repairs.
Resolving Loose Wheel Bearing Issues
A loose wheel bearing in the 2013 Nissan Leaf can cause noise during acceleration or braking. Inspect the bearings regularly, especially if you notice grinding or humming sounds. The repair manual outlines steps for diagnosing and tightening or replacing the bearings. Proper torque specifications are crucial to ensure safety and performance. Addressing this issue promptly prevents further damage to the suspension and steering systems. Always refer to the manual for precise instructions and safety guidelines during the repair process.